Brochure Printing
Lead Generation By Leadlane
Tempe Brochure Printing
Mesa Brochure Printing
Guadalupe Brochure Printing
Chandler Brochure Printing
Gilbert Brochure Printing
Ahwatukee Brochure Printing
South Mountain Brochure Printing
Dobson Ranch Brochure Printing
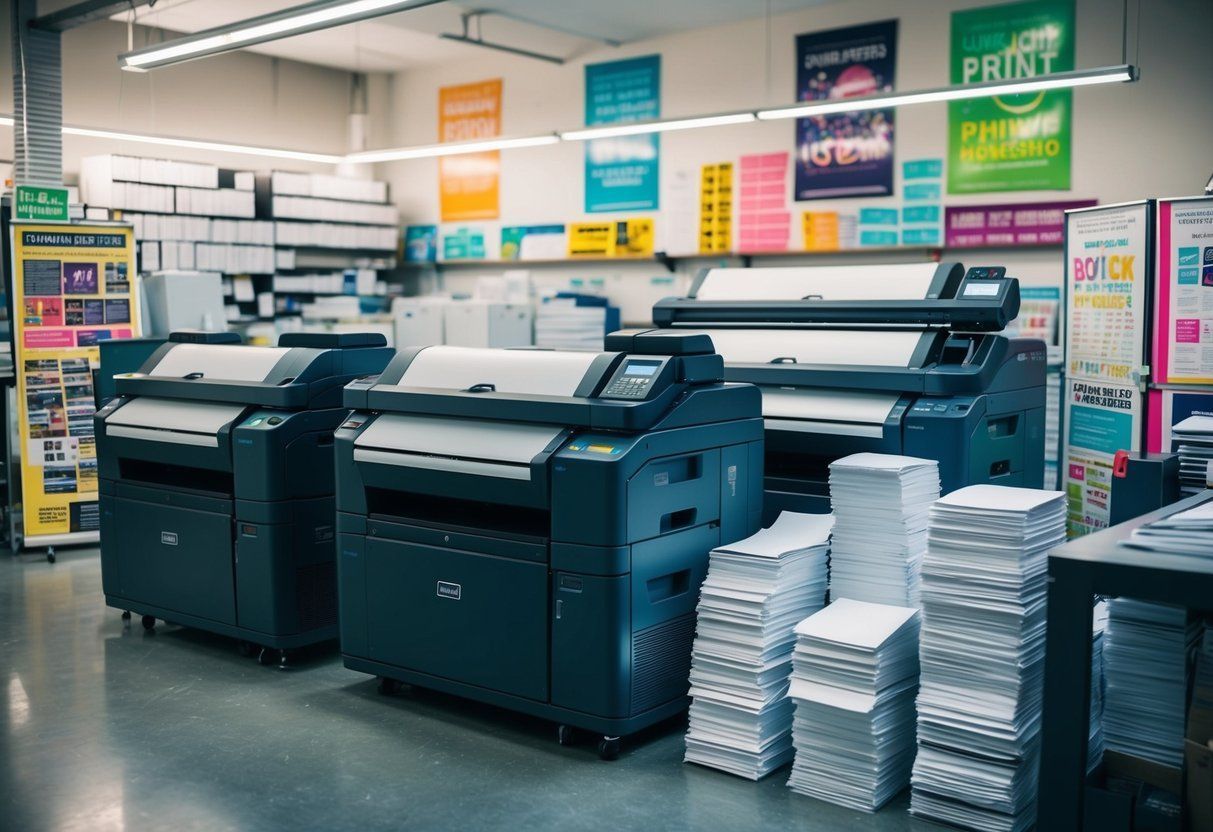
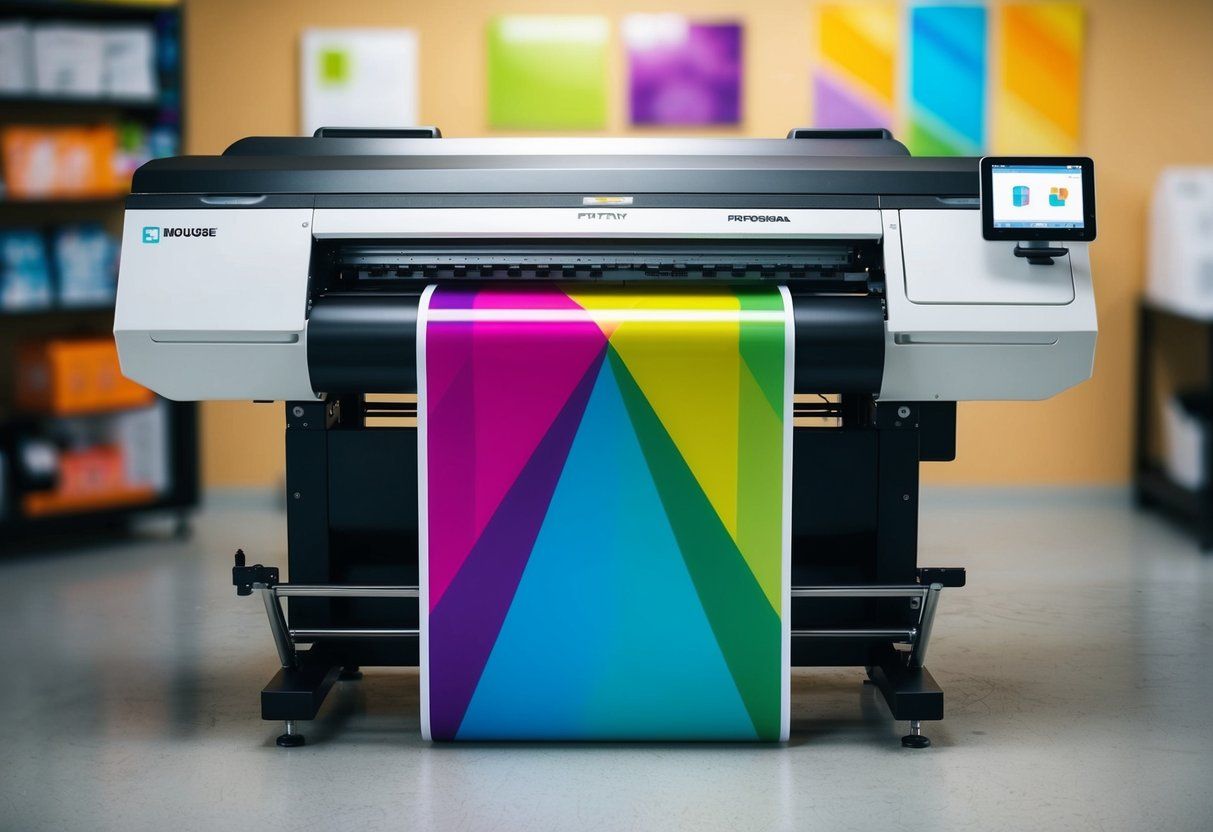
Large Format Printing
Tempe Large Format Printing
Mesa Large Format Printing
Guadalupe Large Format Printing
Chandler Large Format Printing
Gilbert Large Format Printing
Ahwatukee Large Format Printing
South Mountain Large Format Printing
Dobson Ranch Large Format Printing
Banner Printing
Tempe Banner Printing
Mesa Banner Printing
Guadalupe Banner Printing
Chandler Banner Printing
Gilbert Banner Printing
Ahwatukee Banner Printing
South Mountain Banner Printing
Dobson Ranch Banner Printing
Binding Services
Tempe Binding Services
Mesa Binding Services
Guadalupe Binding Services
Chandler Binding Services
Gilbert Binding Services
Ahwatukee Binding Services
South Mountain Binding Services
Dobson Ranch Binding Services
Booklet Printing
Tempe Booklet Printing
Mesa Booklet Printing
Guadalupe Booklet Printing
Chandler Booklet Printing
Gilbert Booklet Printing
Ahwatukee Booklet Printing
South Mountain Booklet Printing
Dobson Ranch Booklet Printing
Business Card Printing
Tempe Business Card Printing
Mesa Business Card Printing
Guadalupe Business Card Printing
Chandler Business Card Printing
Gilbert Business Card Printing
Ahwatukee Business Card Printing
South Mountain Business Card Printing
Dobson Ranch Business Card Printing
Catalog Printing
Tempe Catalog Printing
Mesa Catalog Printing
Guadalupe Catalog Printing
Chandler Catalog Printing
Gilbert Catalog Printing
Ahwatukee Catalog Printing
South Mountain Catalog Printing
Dobson Ranch Catalog Printing
Commercial Printing
Tempe Commercial Printing
Mesa Commercial Printing
Guadalupe Commercial Printing
Chandler Commercial Printing
Gilbert Commercial Printing
Ahwatukee Commercial Printing
South Mountain Commercial Printing
Dobson Ranch Commercial Printing
Manual Printing
Tempe Manual Printing
Mesa Manual Printing
Guadalupe Manual Printing
Chandler Manual Printing
Gilbert Manual Printing
Ahwatukee Manual Printing
South Mountain Manual Printing
Dobson Ranch Manual Printing
Digital Printing
Tempe Digital Printing
Mesa Digital Printing
Guadalupe Digital Printing
Chandler Digital Printing
Gilbert Digital Printing
Ahwatukee Digital Printing
South Mountain Digital Printing
Dobson Ranch Digital Printing
Flyer Printing
Tempe Flyer Printing
Mesa Flyer Printing
Guadalupe Flyer Printing
Chandler Flyer Printing
Gilbert Flyer Printing
Ahwatukee Flyer Printing
South Mountain Flyer Printing
Dobson Ranch Flyer Printing
Poster Printing
Tempe Poster Printing
Mesa Poster Printing
Guadalupe Poster Printing
Chandler Poster Printing
Gilbert Poster Printing
Ahwatukee Poster Printing
South Mountain Poster Printing
Dobson Ranch Poster Printing
Sign Printing
Tempe Sign Printing
Mesa Sign Printing
Guadalupe Sign Printing
Chandler Sign Printing
Gilbert Sign Printing
Ahwatukee Sign Printing
South Mountain Sign Printing
Dobson Ranch Sign Printing
Trade Show Displays
Tempe Trade Show Displays
Mesa Trade Show Displays
Guadalupe Trade Show Displays
Chandler Trade Show Displays
Gilbert Trade Show Displays
Ahwatukee Trade Show Displays
South Mountain Trade Show Displays
Dobson Ranch Trade Show Displays
Yard Signs
Tempe Yard Signs
Mesa Yard Signs
Guadalupe Yard Signs
Chandler Yard Signs
Gilbert Yard Signs
Ahwatukee Yard Signs
South Mountain Yard Signs
Dobson Ranch Yard Signs
Other Pages
Home
Contact Us
Blog
Marketing Mix Tips
Seasonal Campaign Timing
10 Print Design Mistakes
Custom Banner Case Study
Trade-Show Signage Case Study
Large-Format Case Study
Single-Use Menus Guide
2024 Design Trends
Waterproof Signage Guide
Local Large-Format Insights
Startup Marketing Materials
Choosing Local Printing
Flyer Printing Case Study
Catalog Case Study
Business Card Case Study
Booklet Case Study
Binding Case Study
Yard Sign Case Study
Custom Poster Printing
Directional Signage
Interior Signage
Banners Printing
Wall Graphics
Meeting Signs
Brochure Printing (Tempe)
Trade-Show Graphics
Custom Manuals
May 8, 2025
Design Tips for Print: 10 Common Mistakes and How to Avoid Them for Flawless Results
Print design has its own set of rules that are different from digital work. If you don’t follow these rules, your project can look unprofessional or even fail to print correctly.
Avoiding common mistakes like wrong colors, poor image quality, and layout errors can save you time and money.
You need to understand how things like bleed, margins, and typography work in print to get the best results. Simple errors in file setup or font choice often cause big problems later.
Learning how to prepare your files properly will make your print projects smooth and successful.
This post will show you 10 common printing mistakes and how to avoid them so your designs come out just right every time.
Key Takeways
- Check your color settings and image quality before printing.
- Use proper margins and bleeds to avoid cut-off designs.
- Prepare files correctly to prevent last-minute printing issues.
Understanding the Basics of Print Design
Print design is different from digital design in many ways. You need to know how colors, resolution, and materials affect your final printed product.
Avoiding common design mistakes starts with understanding these key concepts.
Key Differences Between Digital and Print
When designing for print, you work with CMYK color mode, not RGB. CMYK uses cyan, magenta, yellow, and black inks, which mix differently than light on screens.
Colors may look less bright in print, so expect some differences.
Print also requires high resolution. Your images should be at least 300 dpi (dots per inch) to avoid blurry or pixelated prints.
Screens use 72 dpi, which is too low for quality printing.
Margins and bleeds are crucial. Bleed means you extend your design beyond the trim edge to avoid white lines after cutting.
Failing to add bleed is a common mistake that can ruin your print job.
Essential Print Terminology
Bleed: Extra space around your design that gets trimmed off. Typically, 1/8 inch (0.125 in) is standard.
Trim: The final size of your printed piece after cutting.
Safe Zone: Area inside the trim where important text and images should stay to avoid being cut off.
Resolution: Measured in dpi, it shows how many dots per inch an image holds. Higher dpi means better print quality.
CMYK: Color system used in printing.
Knowing these terms helps you communicate better with printers and avoid costly design mistakes.
Always check specs before sending your files to print.
Common Color Mistakes in Print Projects
Color in print is very different from color on a screen. Mistakes happen when you don’t use the right color models or tools.
Getting colors wrong can ruin your whole design, so you need to understand how to avoid basic errors.
The Importance of Using CMYK Instead of RGB
Your screen shows colors using RGB (red, green, blue), which mixes light. Printing uses CMYK (cyan, magenta, yellow, black), which mixes ink.
If you design in RGB, the printed colors will look dull or different. Always switch your files to CMYK before sending them to print.
This helps you see how the colors will actually appear on paper. If you don’t, your bright digital colors could turn muddy or weak.
Remember, printing can only use four inks, not light colors on a screen. Most printers expect a CMYK file.
Checking this early prevents surprises and extra costs for reprinting.
Ensuring Accurate Color Matching
Different printers and paper types change how colors look. To get exact colors, use a color guide like Pantone or ask your printer for their preferred color profiles.
You can use color calibration tools and proofs. Proofs are test prints that show how your colors will appear.
Always review proofs on the paper type you will use. Avoid guessing colors by eye from your monitor.
Lighting conditions and screen settings can trick you. Using standard color guides helps keep your colors consistent across devices and print runs.
Avoiding Unexpected Color Shifts
Color shifts happen when colors look different than expected after printing. This often occurs because printers have limits on how much ink they can lay down, called total ink coverage limits.
Heavy ink colors can cause smudging or drying problems. To avoid this, check your file for areas with too much ink.
You can reduce ink coverage by adjusting color balance or using more black (K) instead of mixing many colors.
Some colors in digital files are out of the printable range. These out-of-gamut colors will be replaced by the closest printable color, which might look different.
Using proof prints helps you catch these shifts before the final print.
Managing Bleed, Trim, and Margins
You need to control where your design will be cut and where content stays safe. Understanding bleed, trim, and margins helps you prevent unwanted white edges or lost text in your printed piece.
Setting Up Bleed and Trim Correctly
Bleed is the extra area that extends beyond the trim line. You add bleed so that when your project is cut, no white edges show up.
Usually, bleed is 1/8 inch (0.125″) beyond the trim. Trim is where the printer will cut your design to its final size.
Make sure your document size matches the trim size exactly. Any background color or image that goes to the edge must extend into the bleed area.
Set up your file with these exact measurements to avoid mistakes. Most printers will provide bleed specifications.
Confirm these before you start your design.
Avoiding Critical Content Cuts
Keep important text and images inside the safe margin area. The margin is inside the trim line by at least 1/4 inch (0.25″).
This prevents your text from getting too close to the edge where it might get cut off. Do not place logos, small text, or critical visuals near the trim line.
Test your layout by imagining the trim cut, then double-check that nothing important falls outside the margin.
By respecting margins and bleed, you ensure your printed materials look professional and nothing gets lost when trimmed.
Typography and Readability Pitfalls
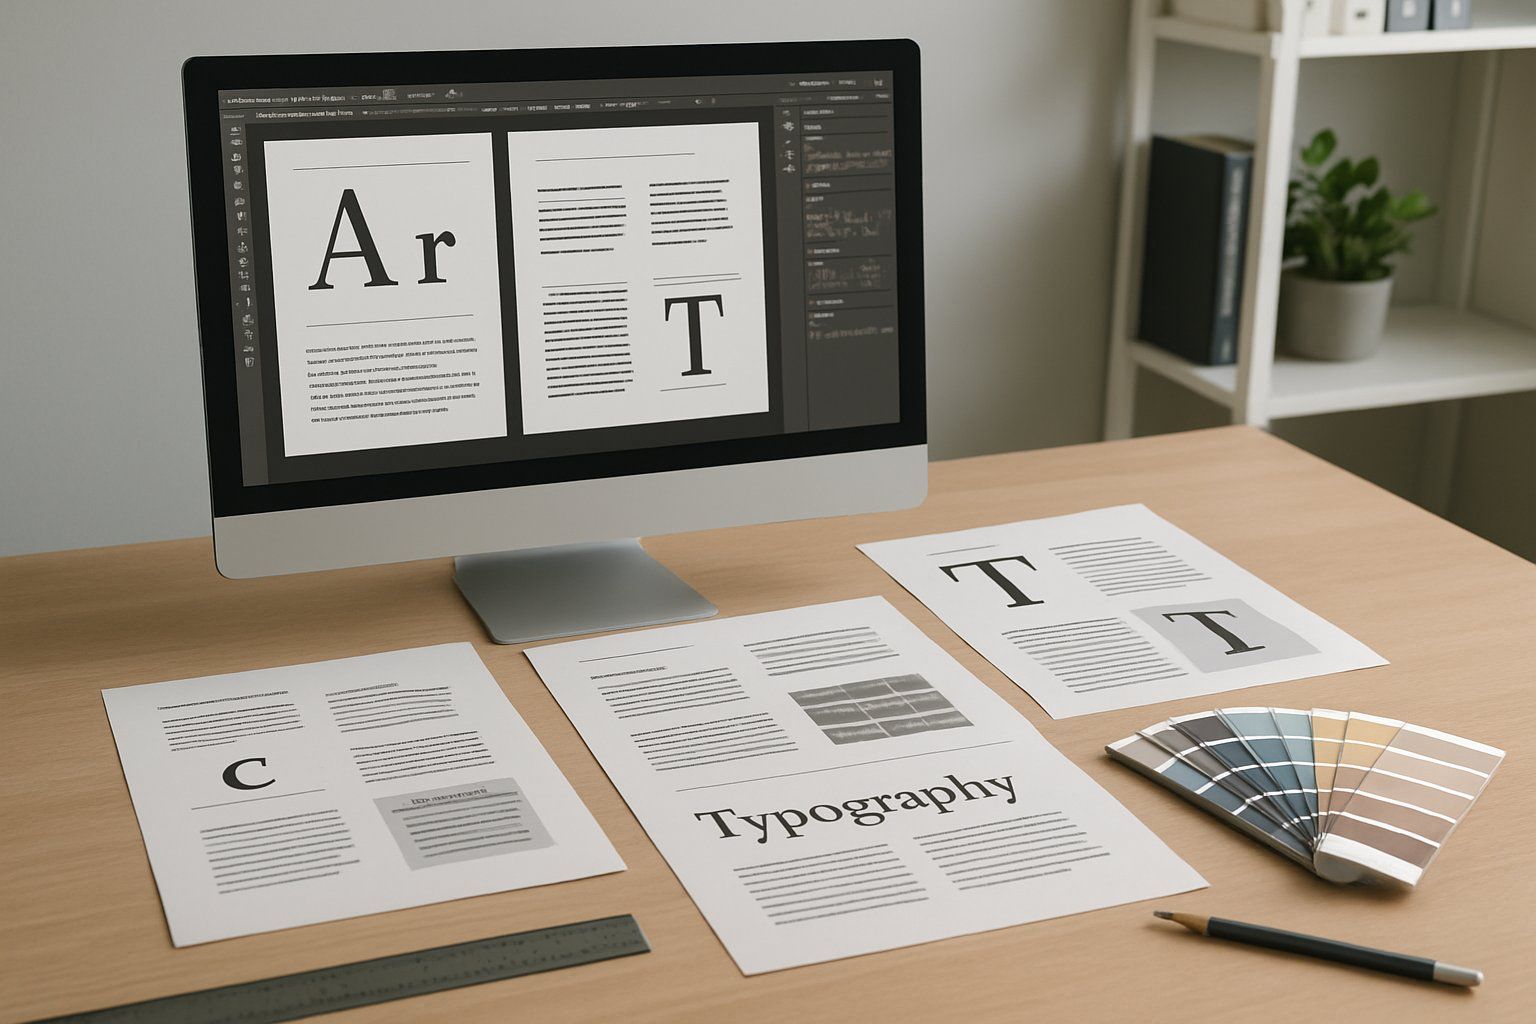
Good typography is essential for print design. Poor choices in font size, spacing, and layout reduce readability and make your message harder to understand.
You need to focus on details that help readers quickly grasp your content without strain.
Selecting the Right Font Size
Choose a font size that fits your print format and target audience. For body text, 10 to 12 points is typically best, depending on the typeface used.
Smaller font sizes may tire readers’ eyes, while larger ones can look bulky and take up too much space. Headlines should be noticeably larger to create a clear visual hierarchy.
Avoid extreme font sizes that disrupt flow. Also, consider the printing quality—some printers struggle with very small points, causing letters to blur.
Improving Tracking and Spacing
Tracking is the space between letters. Too tight tracking makes words hard to read because letters blend together.
Too loose tracking slows reading because letters feel disconnected. Adjust tracking based on the font style and size.
For smaller fonts, increase tracking a bit to avoid crowding. For larger fonts, slight tightening can make the text look more unified.
Pay attention to line spacing too. Allow enough space between lines to prevent crowding but avoid too much space that breaks flow.
About 120% to 145% of the font size usually works well.
Maximizing Overall Readability
Use fonts that are simple and clear. Avoid script or decorative fonts for body text because they reduce legibility.
Limit the number of different fonts. Using two or three fonts max keeps your design cohesive and easy to scan.
Make sure your text contrasts well with the background. Poor contrast, like light gray text on white, forces readers to strain.
Keep paragraphs short and align text in a way that guides the reader naturally, usually left-aligned for most languages.
This setup supports fast, comfortable reading and comprehension.
Image Quality and Resolution Essentials
Your print design depends heavily on image quality and resolution. Using the right resolution and file types ensures your final product looks sharp and professional.
Avoiding Low DPI Images
DPI, or dots per inch, measures how many dots of ink your printer puts on one inch of paper. For clear print images, you usually need at least 300 DPI .
Anything lower may look blurry or pixelated when printed. Always check the DPI of your images before using them.
If you scale up a low DPI image, it will lose quality quickly. Use image editing software to confirm or adjust DPI if needed.
Remember, screen resolution (pixels per inch) is different. Images that look fine on your screen at 72 PPI can print poorly because they don’t have enough detail for printing.
Choosing the Best Image Formats
Certain image formats work better for print. Use TIFF or PNG for high-quality images because they keep details without losing data.
Avoid JPEG files if possible. JPEG uses compression that lowers image quality each time you save it.
If you must use JPEG, try to keep compression low. Vector formats like EPS or SVG are best for logos or illustrations because they can scale without losing quality.
Use these when your design includes sharp lines or text that must stay clear.
Mistakes in Using Design Software
Many print problems start with incorrect file setup and poor optimization in design software. Making sure your files are ready for print from the start saves time and avoids costly errors.
Setting Up Adobe Illustrator for Print
When working in Illustrator, set your document color mode to CMYK , not RGB. Printers use CMYK inks, so this avoids unexpected color shifts.
Also, set the correct artboard size to match your final print dimensions. Use bleed settings to extend artwork beyond the trim edge.
A common bleed is 0.125 inches (3 mm). This prevents white edges after trimming.
Check that all fonts are either outlined or embedded. Outlining fonts stops font mismatches, which can ruin your layout.
Save your files as PDF/X-1a or PDF/X-4 . These formats keep colors and layers consistent for printers.
Optimizing Adobe InDesign Files
InDesign is made for creating multi-page documents and handling complex layouts. Always set your document color mode to CMYK from the start.
Link images at 300 dpi or higher for sharp print quality. Low-resolution images look pixelated when printed.
Use the Preflight tool to catch missing fonts, low-res images, and other issues early.
Export files as PDF/X-1a for most print jobs. This format ensures fonts are embedded and colors stay true.
Keep your file organized by using layers and naming them clearly. This helps printers understand your file without confusion.
File Preparation and Prepress Checks
Preparing your files correctly is key to avoiding problems in printing. Make sure your files are in the right format and pass all prepress checks before sending them to the printer.
Ensuring Correct File Formats
Save your design files in formats that printers accept. The most common and reliable format is PDF because it preserves fonts, colors, and layout.
Use PDF/X-1a or PDF/X-4 for best compatibility. Avoid formats like JPEG or PNG for final print files—they are for images only and can lose quality.
Make sure all colors are set to CMYK instead of RGB. RGB colors may look brighter on screen but don’t print correctly.
If you use spot colors, check with your printer to ensure they support them. Embed all fonts or convert text to outlines to prevent missing font issues.
Running Final Preflight Checks
Before sending files to print, use a preflight tool to check for errors. These tools check for issues like missing fonts, incorrect color modes, and low-resolution images.
You can use software like Adobe Acrobat Pro or specialized prepress software. Also, verify that your file includes bleeds and crop marks if needed.
Bleeds allow colors to extend beyond the trim edge to avoid white borders. Report any warnings or errors from the preflight check and fix them before printing.
Final Thoughts and Best Practices
Focus on clarity, consistency, and accuracy in your print designs. Pay attention to details like color settings, resolution, and layout.
Summary of Key Takeaways
Always use CMYK color mode for print, not RGB, to ensure colors come out as expected. Check your images are at least 300 DPI to avoid blurry prints.
Keep important text at least 0.25 inches away from the edges to prevent cutting off. Use bleed settings on your files to avoid white borders.
Be mindful of font choices; stick to legible, simple fonts and avoid using too many different styles. Proofread your work carefully to catch typos or errors before sending it to print.
Resources for Continued Learning
You can improve your print design skills by using online platforms like LinkedIn Learning and Coursera , which offer courses on graphic design basics. Many free resources, such as Canva’s design school and Adobe’s tutorials , provide practical tips specific to print materials.
For technical details, check out websites like PrintNinja’s blog or IngramSpark’s resources. These sites explain print file settings and printing processes in clear terms. Regularly review the printer’s specifications before submission to avoid mistakes.
Frequently Asked Questions
Print design requires specific settings, file formats, and color corrections. You also need to follow printing guidelines and check your work carefully.
What alterations are needed to make a digital design suitable for printing?
You must change the color mode from RGB to CMYK for accurate colors. Set the correct resolution, usually 300 DPI, to avoid blurriness.
Add bleed areas to prevent white edges after trimming.
How can designers ensure their print designs adhere to professional printing guidelines?
Use standard paper sizes and margins. Check that all fonts are embedded or outlined.
Confirm the printer’s preferred file format, usually PDF with crop marks.
What are some techniques to prepare graphics for the print process?
Convert text to outlines to avoid font issues. Use vector images when possible for sharp lines.
Flatten complex layers and avoid low-resolution images.
In what ways can common graphic design errors be identified and remedied before printing?
Proofread text carefully to catch spelling and grammar errors. Check color contrasts to ensure readability.
Print a test copy to see how colors and details appear on paper.
What principles should be followed to prevent potential print design issues?
Keep important elements within safe zones to avoid cutting errors. Use consistent fonts and colors.
Avoid placing text or images too close to the edges.
How can the quality of print design be maintained from the screen to the final printed product?
Calibrate your monitor for accurate color display.
Use print proofs to compare digital and printed versions.
Make adjustments based on the test prints before the final run.…
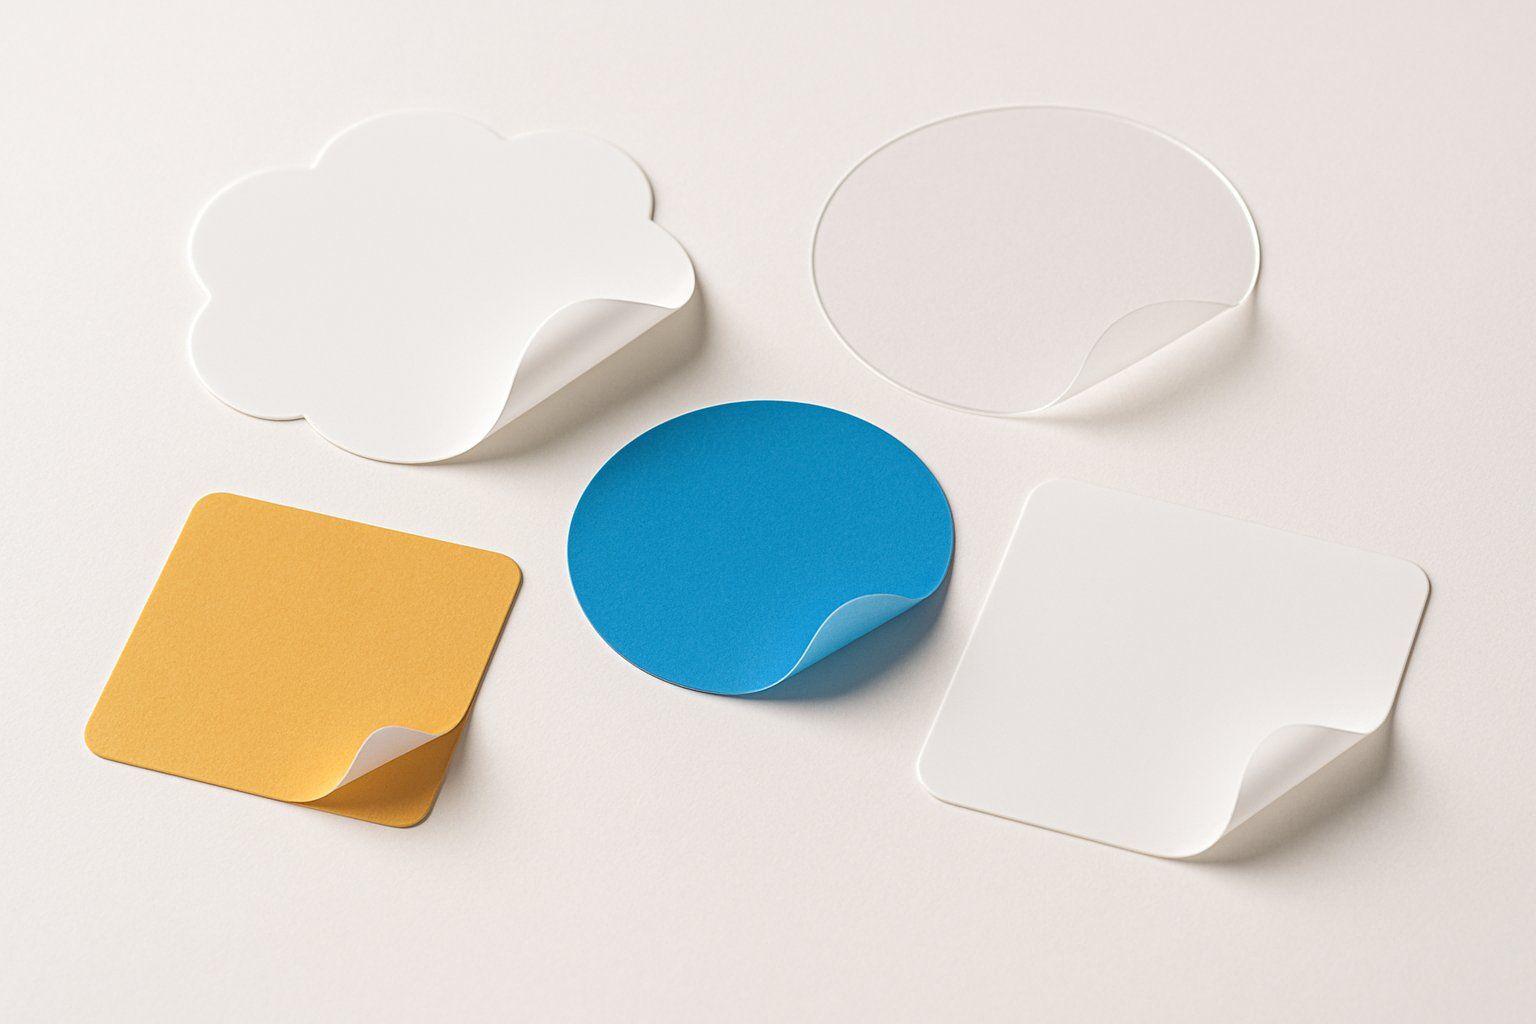
Choosing the right sticker material can make a big difference in how well the sticker works and looks. There are many types available, including vinyl, paper, and clear stickers, each with unique features and uses.
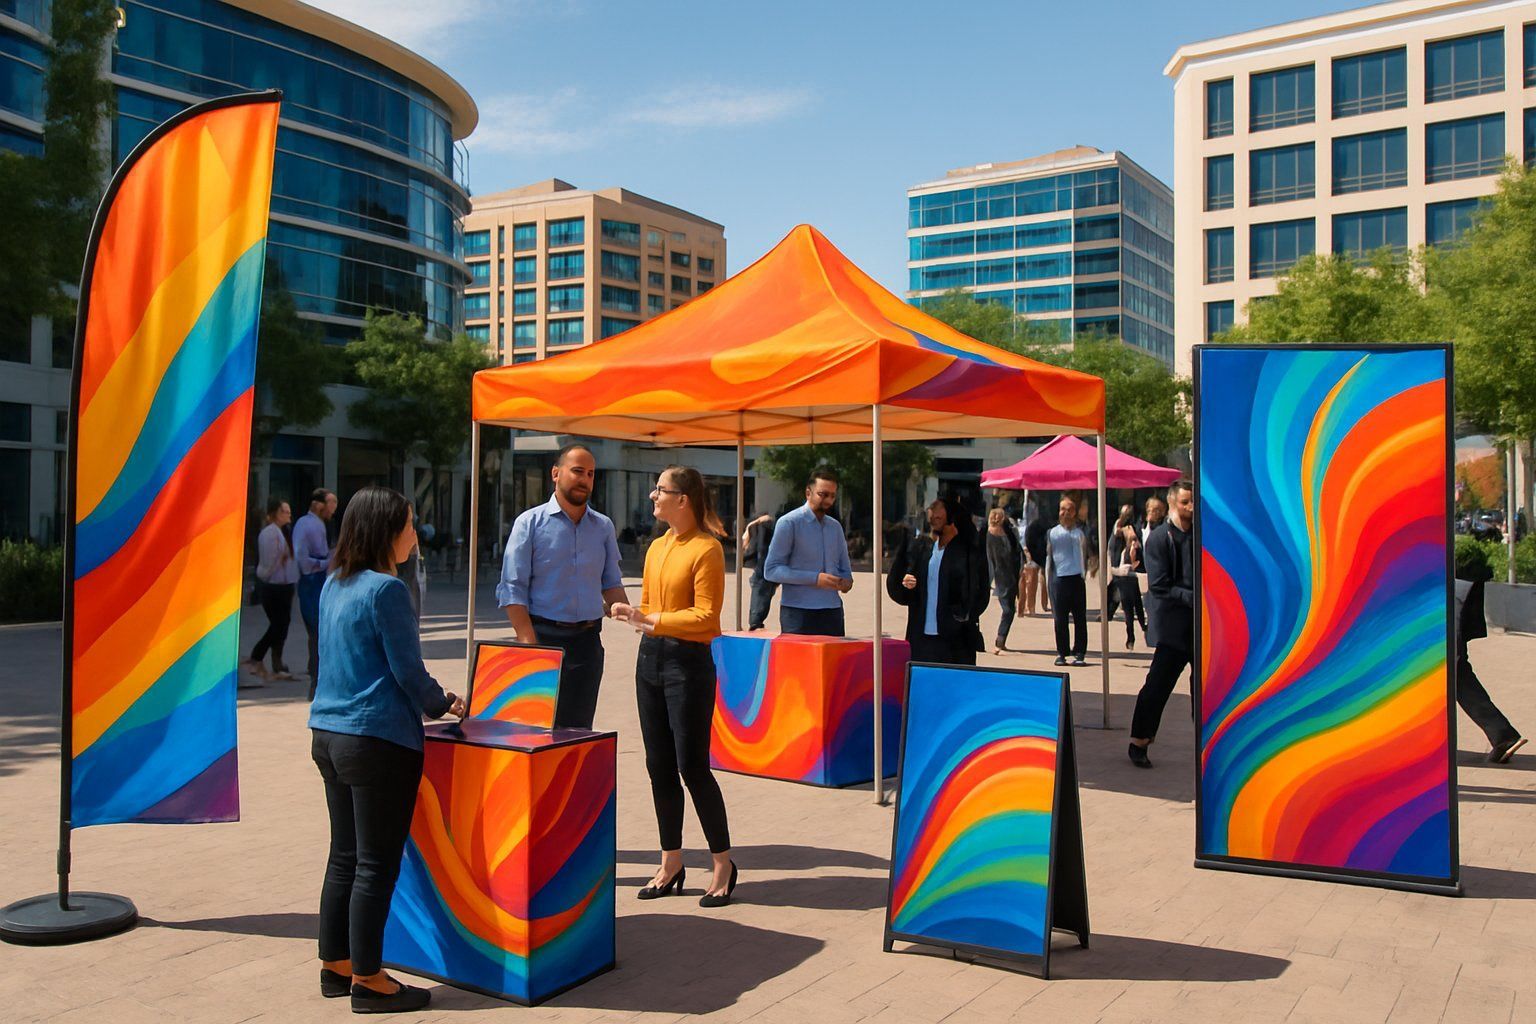
When attending or hosting events in Tempe, standing out is key to attracting attention and building a strong brand presence.
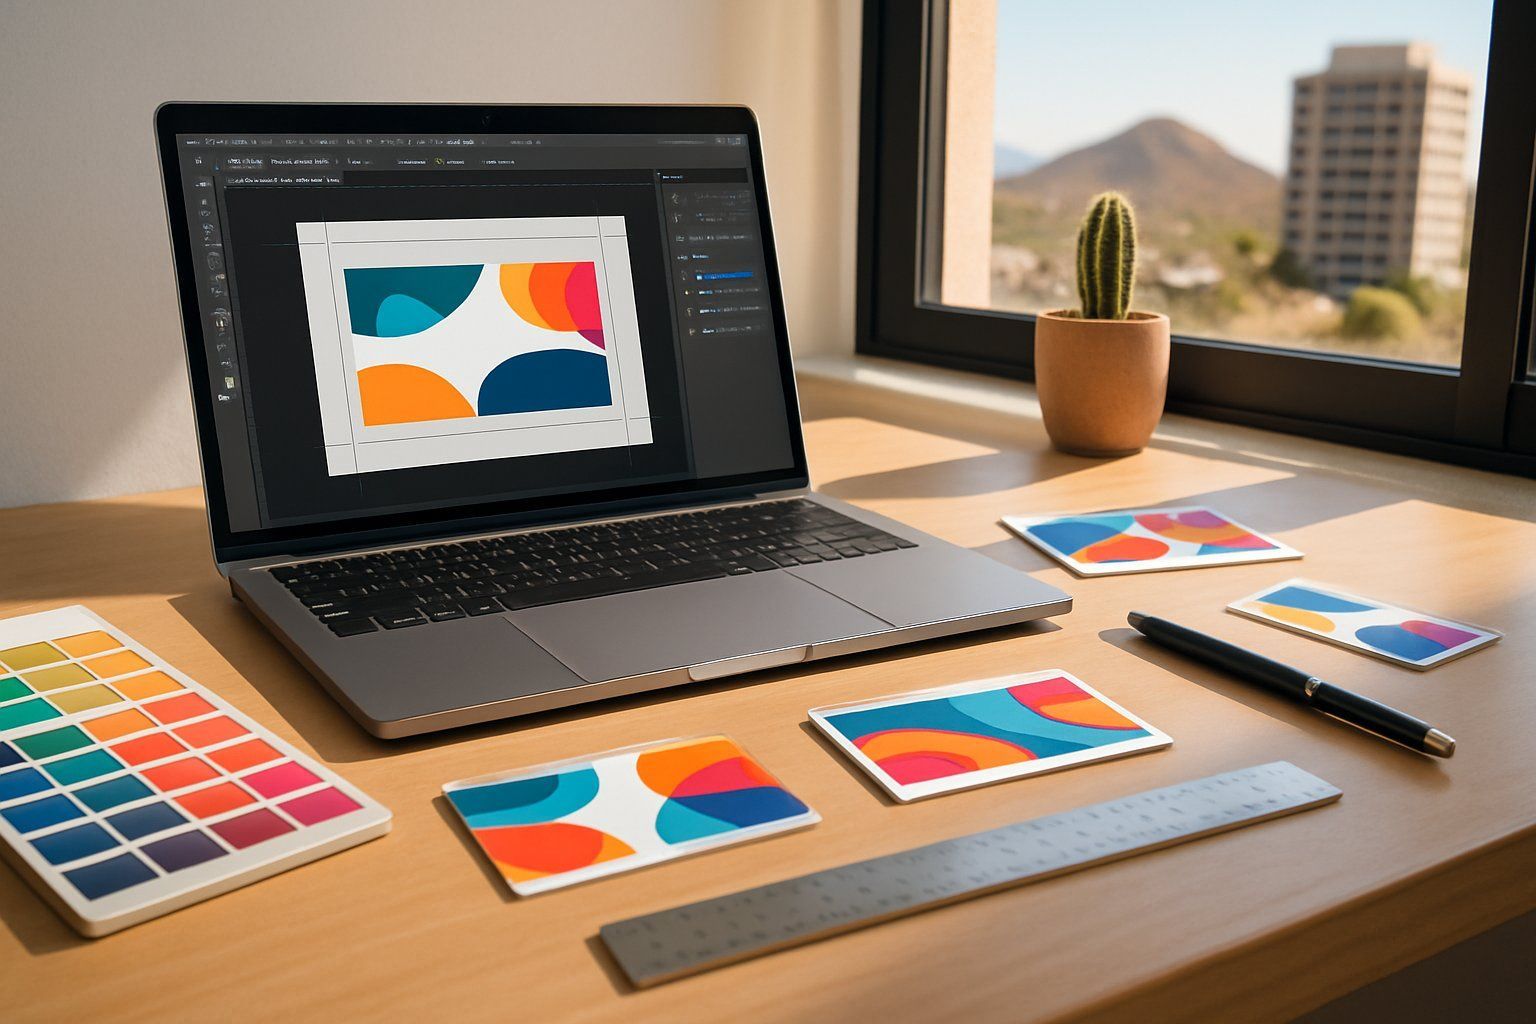
Designing business cards for printing in Tempe means focusing on clear, simple layouts that represent your brand well. You should pick the right size, fonts, and colors to make sure your card stands out but stays professional.

Seasonal print campaigns can boost customer interest when timed right.

Marketing success often depends on how well we combine different tools to reach our audience. Print materials like brochures or flyers still hold value when mixed with digital marketing efforts like social media ads and email campaigns.
Trade shows are a powerful way to showcase our brand and connect with potential customers.
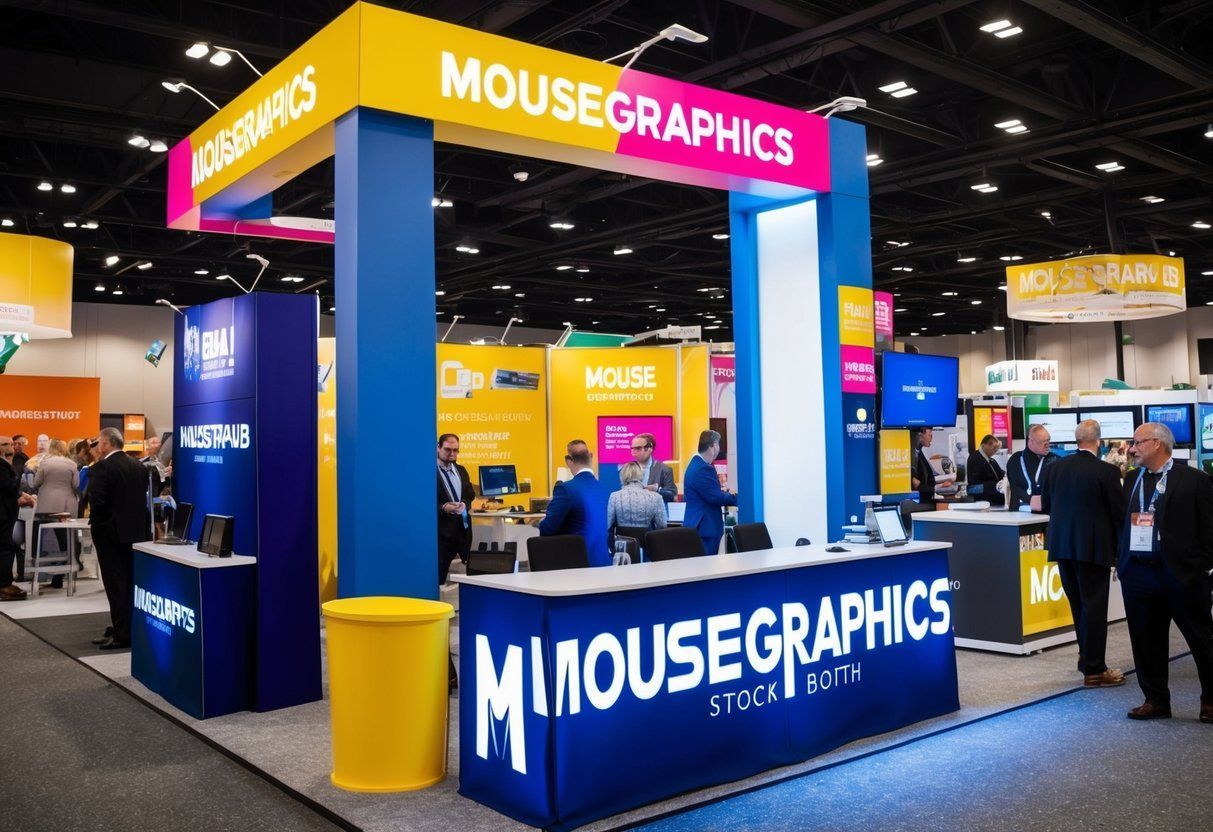
Large-format printing is a powerful tool for making a statement. At Mousegraphics in Tempe, we offer exceptional large-format printing services that can elevate your brand and engage your audience.
Custom Banner Printing from Us at Mousegraphics in Tempe: Quality Solutions for Your Marketing Needs
Custom banner printing can take your advertising to the next level. At Mousegraphics in Tempe, we offer a wide range of banner options that cater to your specific needs.

In 2024, marketing materials are set to embrace fresh and innovative design trends that reflect current consumer demands.
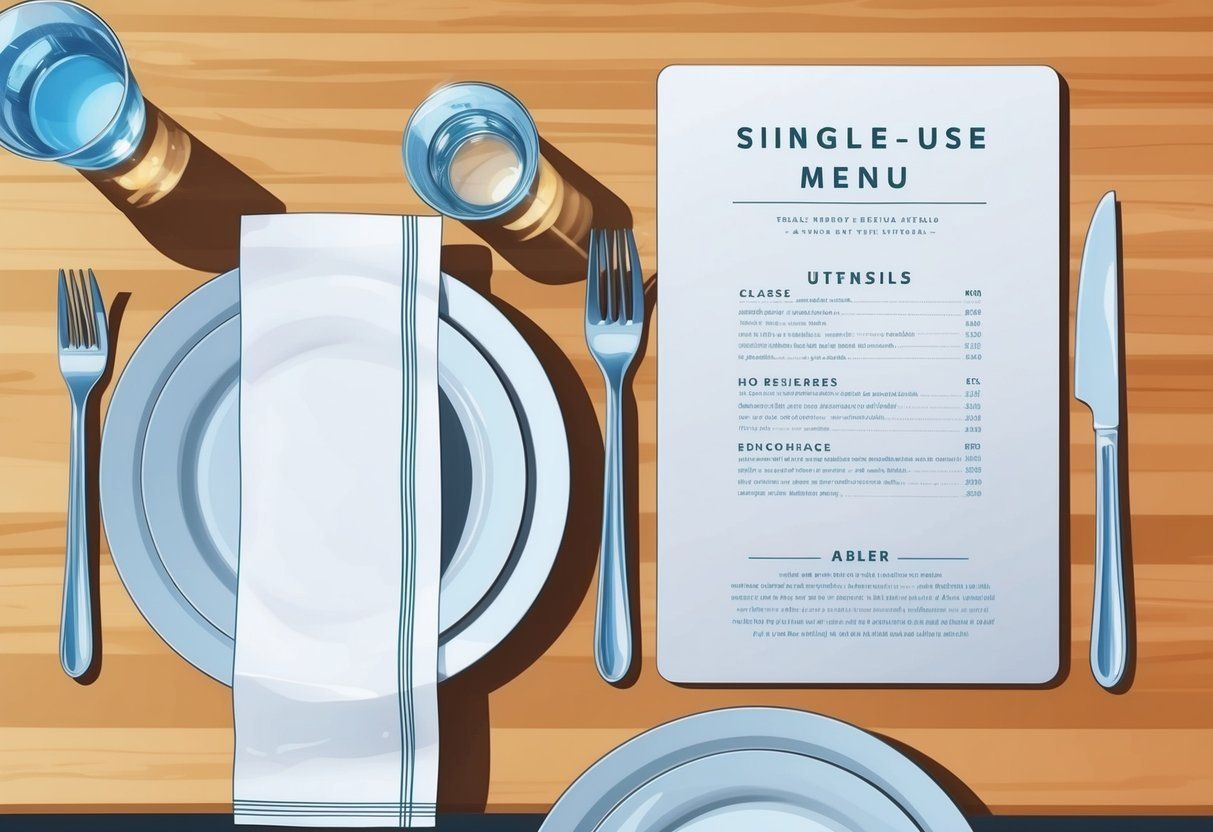
As restaurants adapt to changes after the pandemic, many are turning to single-use menus. This approach not only improves hygiene but also meets the evolving demands of consumers who prioritize safety and convenience.
